
Are you looking to build your outdoor deck? Do you want to be the envy of all your neighbors, while still maintaining a budget-friendly project? If so, this ultimate guide is for you! You’ll learn where to begin with deck building and what materials are best suited for any size or shape of the project. With the right planning and materials in place, DIYing your dream outdoor space will become a reality.
Follow along as we walk through the steps needed for beginning construction on your very own custom deck!
Understanding Your Deck Design Options
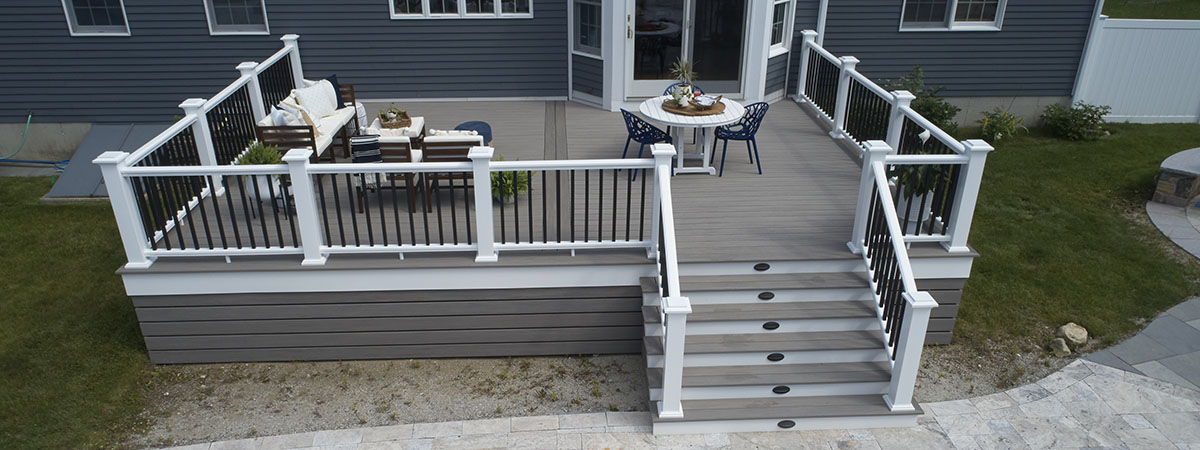 Source: www.timbertech.comWhen it comes to DIY deck building, understanding your design options is key. Many homeowners have the desire to build their decks but don’t know where to start.
The first step in constructing a deck is deciding on the design that best fits your budget and needs. Whether youre looking for a classic wooden deck or something more modern like composite materials, there are plenty of choices available.
Each option has its advantages and disadvantages so it’s important to research each one before making a final decision. Consider things such as size limitations, maintenance requirements, cost-effectiveness, and aesthetics when selecting the right material for your project.
And if you need help along the way, there are numerous resources available online tutorial videos and articles that can guide every stage of construction. Ultimately with some careful planning and creative thinking, you’ll be able to create the perfect outdoor retreat – one that perfectly suits both your lifestyle and budget!
Preparing the Site and Choosing Materials
 Source: www.timbertech.comBefore getting started on building a DIY deck, it is important to prepare the site and choose the right materials. The first step is to decide where you want your deck to be located and then measure out the space so that you have an idea of what size it needs to be.
It’s also important to take into account any potential obstacles like trees or utility lines that might be in the way before you start planning out your project. When choosing materials, there are several types of wood available for use such as cedar, redwood, pressure-treated pine, and composite lumber.
Each type has its benefits and drawbacks depending on how much maintenance you’re willing to do over time or if you prefer a particular look for your deck. Consider all these factors when selecting which material will work best for your build.
Additionally, don’t forget about other necessary supplies like screws and nails!
Constructing the Foundation of Your Deck
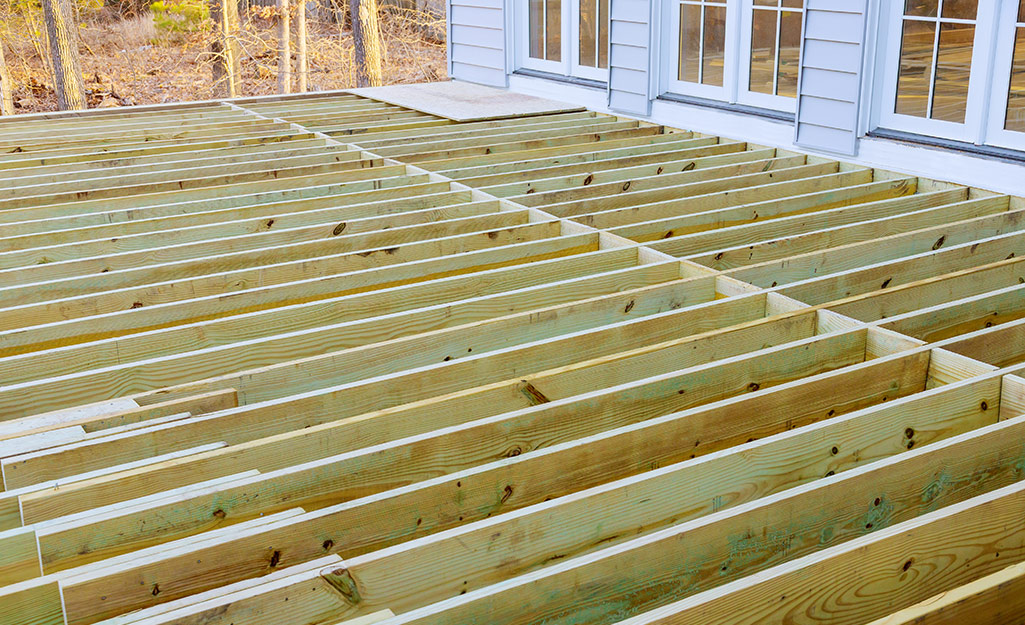
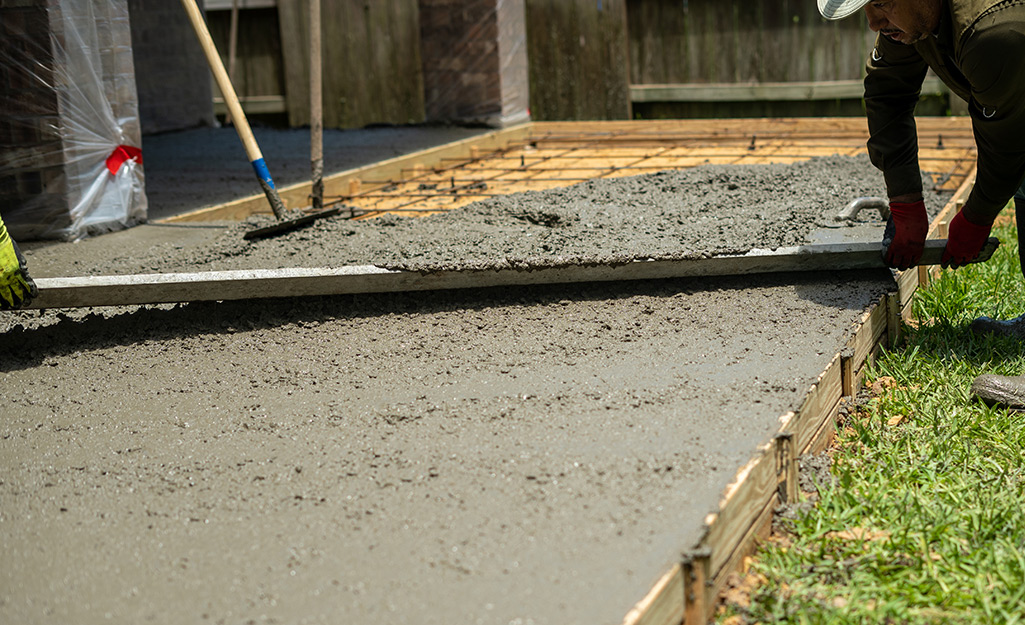 Source: www.homedepot.comBuilding a deck is an exciting project that can be completed with just a few tools and the right materials. Before you begin, it’s important to create the foundation of your deck by laying out footings and posts.
To do this properly, make sure you measure the area for your deck accurately and take into consideration any slopes or angled areas. Once you have determined these measurements, dig holes for post footers.
These should be at least 6 inches deep so they are securely below the frost line in cold climates. Fill them up with concrete or gravel to act as stabilizers before setting each post in place and ensuring they are level before filling around them with more concrete or soil.
Finally, build a frame using beams attached to your posts for solid support during the construction of your remaining components such as railings and stairs. With these steps complete, you have constructed the foundation that will provide strong support throughout the lifetime of your DIY deck!
Laying Down a Durable Deck Floor Surface
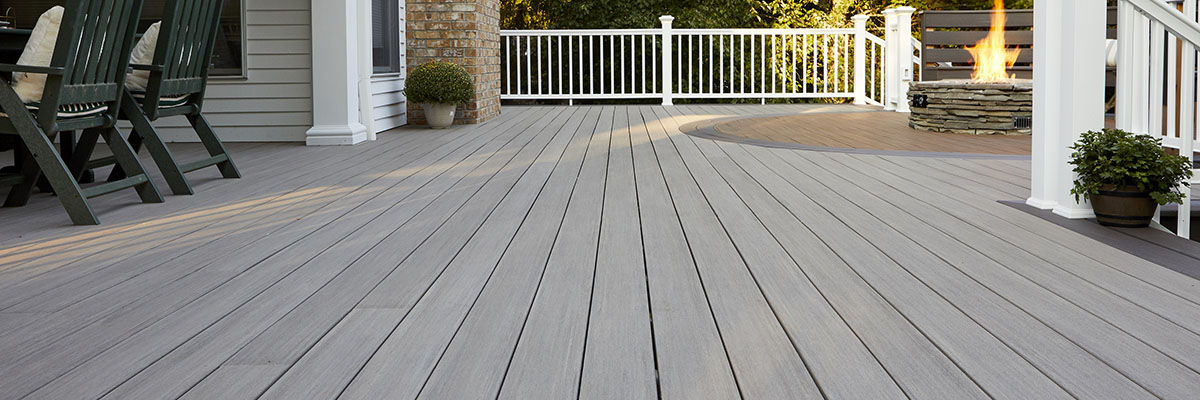
 Source: www.homedepot.comWhen it comes to laying down a durable deck floor surface, the most important thing is to choose materials that are designed to withstand the elements. Pressure-treated lumber or composite decking boards are two popular options that will ensure your deck holds up for years.
When selecting these materials, be sure to look for any warranties offered by the manufacturer and check if they’re suitable for your climate. Once you have chosen your material, it’s time to prepare the base of the area where youre building – this should include a properly leveled foundation and an appropriate drainage system in place.
Additionally, when placing your boards make sure they fit together well and use screws rather than nails as this ensures a stronger bond between each plank. Finally, finish with sealants or varnishes depending on what kind of wood was used; this will protect against rot and add an extra layer of defense against water damage.
With all these steps taken care of you can now enjoy years of worry-free outdoor living!
Adding Skirting and Railings for Safety and Style
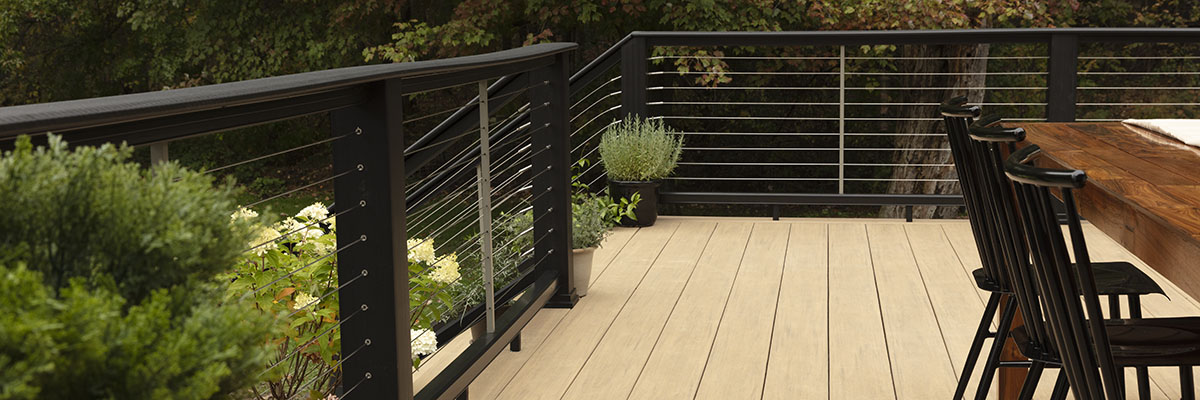 Source: www.timbertech.comAdding skirting and railings to your deck is an important step in the DIY deck-building process. Not only does it provide a secure barrier around the edge of your deck, but it also adds aesthetic value by enhancing its appearance with style and sophistication.
Skirting can come in a variety of materials such as wood, plastic, or vinyl, which each has its benefits and drawbacks. Meanwhile, railings not only add safety features to prevent falls from occurring while on the deck but also help define boundaries for areas you want guests to stay away from, such as pool edges or outdoor kitchens.
When choosing between skirting types and railing styles for your DIY project, consider both function and form to ensure you get what works best for you.
Conclusion
 Source: todayshomeowner.comBuilding a deck can be an incredibly rewarding experience, and with the right knowledge and tools, it doesn’t have to be intimidating. With this guide as your foundation, you can begin planning and constructing your DIY deck.
Deck building is a great way to improve both the value of your home and its outdoor aesthetic. It’s also a fun project that will bring years of enjoyment for you and those around you.


